
Last updated November 18, 2026






Free written scope consultation - allowances, timeline, and change-order rules on paper before a single trade is scheduled
Construction Warning Signs: A Berkeley Homeowner’s Reference Guide
A stair-step crack in a Berkeley home’s exterior stucco is not a stucco problem. It’s a foundation movement indicator, and in Berkeley’s expansive clay zones it’s one of the most commonly misdiagnosed and under-repaired issues in the city’s pre-1980 housing stock. We’ve watched homeowners pay for three cosmetic stucco patches over a decade before anyone looked at the soil under the footing. The crack wasn’t cosmetic. It was a symptom, and it kept reporting the same problem in a language nobody translated. This guide teaches you to read that language: crack patterns as diagnostics, hillside warning signs specific to Berkeley’s slopes, the material failures waiting inside 1945-1975 era homes, water intrusion clues that show up before the water does, and contractor red flags during an active project. By the end you’ll know what to photograph, what to compare, and when a cosmetic fix is masking something structural.
Quick Answer
The most important construction warning signs in a Berkeley home are patterns, not single events: stair-step or diagonal cracks in stucco and interior drywall, doors and windows that stopped latching on their own, efflorescence or damp soil along the foundation line, retaining walls that have leaned beyond vertical, and original 1945-1975 materials (aluminum wiring, cast iron drains, first-generation roofing) that have outlived their expected service life. Any one of these deserves a look. Two or more appearing together usually means movement, moisture, or both, and the sooner a licensed professional evaluates them, the less the eventual repair tends to cost.
Styles & brands we work with
- Kitchen remodeling
- Bathroom remodeling
- Home additions & ADU
- Roofing
- Windows & doors
- Driveway & pavers
- Fence
Table of Contents
- How to Read Cracks in Stucco, Concrete, and Drywall
- Berkeley Hillside Warning Signs: Retaining Walls, Swales, and Slope Creep
- Warning Signs Inside Berkeley’s 1945-1975 Era Homes
- Water Intrusion: What You’ll Notice Before You See the Leak
- Contractor Red Flags During an Active Project
- Seasonal Timing: When Berkeley Warnings Get Louder
- A Walkthrough Checklist You Can Do This Weekend
- Common Mistakes to Avoid
- When to Call a Professional
- Frequently Asked Questions
How to Read Cracks in Stucco, Concrete, and Drywall
A crack is a record of movement. The question isn’t whether something moved, it’s what moved, when, and whether it’s still moving. The shape, direction, and location of a crack tell you which of those three things you’re dealing with – and in Berkeley, where soil behavior shifts noticeably between the flats and the hills, that reading changes street by street.
Stucco cracks
Stucco is brittle. It’s meant to move with the structure beneath it, within limits, and when the structure moves beyond those limits, the stucco reports it. Hairline cracks that follow no discernible pattern and appear across a large flat area are usually ordinary curing or thermal movement, and they’re common in Berkeley homes with sun-exposed west-facing walls. Cracks that run diagonal across a wall, or that step in a staircase pattern along the mortar lines of a block or brick foundation, are a different story. Those follow the direction of movement rather than resisting it, which is what makes them useful as evidence. A horizontal crack along a foundation stem wall is also significant, and tends to appear where soil pressure is pushing rather than settling.
What makes a stucco crack worth investigating isn’t its width alone. It’s whether the crack is active and what’s happening at both ends. Use a pencil to mark both ends and the date, then check in three months. If the marks have moved apart, the movement is ongoing and the crack is a symptom, not the problem.
Concrete flatwork
Concrete cracks in predictable places: at control joints, at corners, and at the edges of embedded posts. Cracks that follow those lines are usually doing what the slab was designed to do. Cracks that cut diagonally across a driveway, or that open up a step or trip hazard, or that run parallel to a retaining wall or footing line, are pointing at subgrade movement. In Berkeley’s expansive clay, moisture cycling in the soil under a slab will lift and drop the concrete over seasons, and the crack pattern will track that. Look for a slab that’s heaved a corner up, or one that’s sunk leaving a gap where it meets a wall or the garage apron. That gap is a map of where the subgrade has failed.
Interior drywall
Drywall tells you things stucco can’t, because drywall moves with the framing rather than the foundation. Cracks at the inside corners of door and window openings, especially the classic diagonal at the top corner, are the ones to watch. A crack that runs from the corner of a doorframe out at about 45 degrees usually means the header has deflected or the wall has shifted. Hairline texture cracks in a single room can be old settling. Cracks that repeat on the same wall in multiple rooms, or that travel from floor to ceiling along a wall seam, are worth documenting. Use your phone to photograph the crack against a tape measure or coin for scale, and do it again in a few months. Repetition across time is the diagnostic. One photo is a curiosity. Two photos from the same angle tell you whether it’s moving.
Berkeley Hillside Warning Signs: Retaining Walls, Swales, and Slope Creep
Berkeley’s hillside neighborhoods have a separate set of warning signs, and they’re easy to confuse with normal age. The soil on a slope wants to move downhill, and everything built into that slope is designed to slow or redirect that movement. When the systems that redirect it start failing, the evidence shows up in retaining walls, drainage swales, and the flatwork and fencing that sit below them. Here’s what to look for, and in what order.
- Retaining wall lean. A wall that leans slightly into the hillside is often doing its job; a wall that leans away from the hillside is losing the fight. Sight down the top of the wall from one end and look for a consistent curve. Small, even curves are common in older walls. A wall that’s developed a sharp kink, or that bulges outward in the middle, deserves a professional evaluation before anything gets built on the terrace above it.
- Soil at the base of the wall. Soil accumulating against the base of a wall on the downhill side, or bulging ground at the toe, means the wall is pushing downhill and the soil is following. Look for new cracks in the wall’s face and any separation between the wall and the structure it’s meant to protect.
- Drainage swale blockage. Swales (the shallow V-shaped channels that route water around structures) fail quietly. Leaves, decomposed mulch, and soil creep fill them over seasons, and the water finds a new path. If you see a line of darker soil, a rut, or a stripe of dead vegetation running downhill beside your swale, water has been escaping it. Check the outfall at the bottom of the swale – if it’s silted up or the outlet has been covered by a fence post or landscaping, the swale is no longer functioning.
- Slope creep in flatwork and fencing. Slope creep is slow downhill movement, and it doesn’t announce itself. It shows in flatwork that’s tilted slightly off-level in a consistent direction, fence posts that lean uniformly downhill, and gaps opening between steps and adjacent slabs. A single leaning post is one post. A row of posts leaning the same way is the ground underneath them, not the posts.
- Foundation exposure. On a hillside, look for the uphill side of the foundation showing more stem wall than it used to. That’s not always visible from the ground; it often shows as a gap between the wood siding line and the soil that has opened up slowly. Any new gap at the foundation-to-soil line on a slope should be photographed and evaluated.
Hillside work that touches retaining structures, drainage, or the grade around a foundation needs permits, and most of it falls under Berkeley’s building department review. If you’re planning a larger improvement on a hillside lot – an addition, a new deck, or a secondary unit that needs a level pad – our home additions & ADU work starts with the site and the drainage, because that’s what protects everything above it.
Warning Signs Inside Berkeley’s 1945-1975 Era Homes
Berkeley’s housing stock covers a long span, and the era a home was built in tells you which materials are likely at or past their expected service life. Three material groups in the 1945-1975 window deserve special attention, and the warning signs are specific.
Aluminum branch wiring
Aluminum wiring shows up in homes built roughly from the mid-1960s into the early 1970s as branch circuit wiring. It’s not automatically dangerous, but it’s less forgiving than copper at terminations, and the warning signs are worth knowing. Look for outlets and switches that feel warm, discolored devices or faceplates, lights that flicker in patterns that follow a specific circuit, and a faint plastic smell near a receptacle. The most reliable check is visual inspection inside the panel and at a sample of devices, done by an electrician. Never remove and re-terminate a device to “fix” it yourself; aluminum requires specific connectors and techniques. If you’re renovating a kitchen or bath in a home of this era, the wiring behind the walls should be evaluated before new finishes go in – our Construction Berkeley remodeling teams open walls on homes from this period regularly and always bring in a licensed electrician for the wire itself.
Cast iron drain lines
Cast iron waste lines from this era fail from the inside out. The warning signs appear in sequence: slow drains that recur no matter how often you snake them, a gurgling sound at fixtures after use, occasional sewer odor in a basement or crawlspace, and eventually rust-colored staining or an actual seep at a pipe joint. A drain camera inspection is the only way to see what’s happening inside, and if a portion of the line is losing its cross-section to scale and rust, patching won’t help. Before you finish a basement or add a bathroom on a lower level, camera the line. The repair is far cheaper before the finishes are up.
Original roofing assemblies
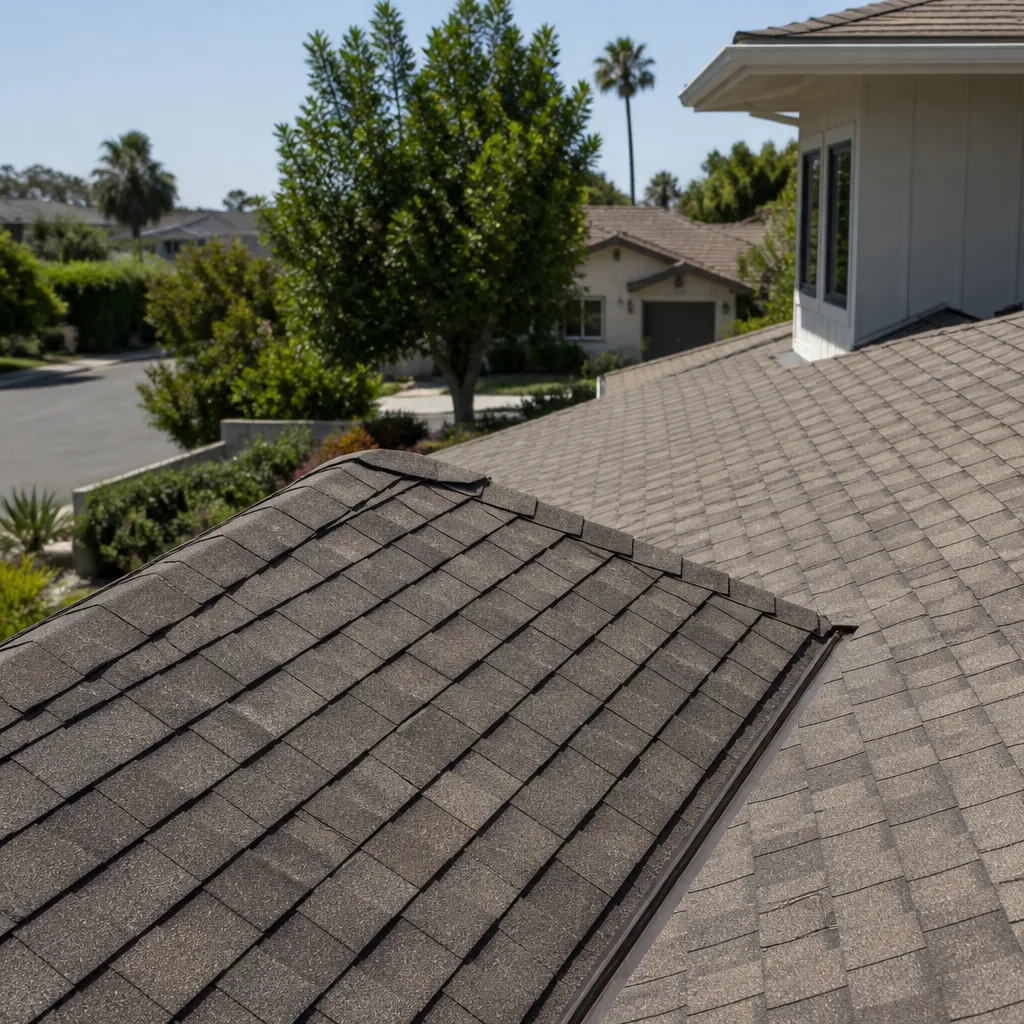
The roofing assemblies of this era were built to last a certain number of decades, and most of them have exceeded that. The warning signs of a roofing assembly at end of life aren’t just missing shingles. Look for granules collecting in gutters and at downspout outlets (that’s the shingle surface leaving), sagging along the roof deck between rafters, daylight in the attic, staining on ceiling drywall below the roofline, and soft spots in the sheathing when you walk the attic. If your home still has its original roof deck and underlayment, a replacement is a question of when, not if, and doing it before the deck absorbs water saves the sheathing. Roof work involves height and should be handled by trained professionals; this is a look-and-document task, not a climb-up-and-patch task. When it’s time, our driveway & pavers and roofing scopes are usually planned together so the water management around the house is addressed as a whole.
Water Intrusion: What You’ll Notice Before You See the Leak
Water in a Berkeley basement or crawlspace almost always makes its first appearance in a form that isn’t water. The signs are subtle and they’re easy to dismiss as “just the way the space feels.” Here’s the order in which they typically show up.
- Efflorescence. That white, powdery staining on foundation walls and crawlspace concrete is mineral salts left behind when moisture pushes through the concrete and evaporates on the inside face. It’s not a stain from moisture that happened once. Efflorescence is evidence of ongoing moisture movement. If it’s reappearing, the water path is still active.
- Sump frequency. A sump pump that used to run in heavy rain only, now running a few times a week in dry weather, is reporting a change in groundwater or a change in how water is draining away from the foundation. Track it. Sump cycling frequency is one of the most useful signals a homeowner can record, and one of the easiest to forget.
- Soil saturation adjacent to the foundation. Soils that stay wet against the foundation wall long after a rain are a sign that the grading has failed or the roof water isn’t getting away. Look for soft ground, moss or algae growth on the soil, and a persistent damp band along the base of the wall. In Berkeley’s clay, a saturated band against a foundation can stay wet for weeks.
- Crawlspace conditions. Damp, musty odors, condensation on the underside of floor framing, visible staining at the base of joists, and insulation that’s lost its loft under the subfloor all point to moisture coming in from below. The fix depends on whether it’s groundwater, roof water, or plumbing, and the investigation should follow the water back to its source.
- Mold at the wall-floor junction. Mold appearing where a finished wall meets the floor, or in a closet on an exterior wall, is a water report. It means moisture is present in the assembly, and the question is where it’s coming from.
Water intrusion is a single-source problem in a multi-source world: it can come from a roof, a window, a downspout, a grading fault, or a foundation issue, and fixing one without finding the actual source wastes both money and the next season. If you’re noticing water signs together with any of the crack patterns or hillside indicators in this guide, that’s the point at which a professional evaluation is worth scheduling. Our fence installation work around Berkeley frequently turns up drainage evidence along property lines that homeowners hadn’t seen from the house side.
Contractor Red Flags During an Active Project
Most contractor red flags show up during the job, not before it, and they cluster around three things: sequence, inspections, and material. Here’s what an out-of-sequence, under-inspected, or material-swapped project looks like from the homeowner’s side.
Signs that work was done out of sequence
- Finishes before rough-in verification. Drywall or tile installed before rough-in plumbing and electrical have been inspected is a serious red flag, and it’s hard to undo. If the crew starts closing walls before anyone has confirmed rough-in, ask why.
- Roof or window work before flashing details are settled. Flashing and weather barrier details need to be complete and inspected before the next layer covers them. If you can’t see the flashing, ask to have it photographed before it’s covered.
- Landscape and hardscape before grading and drainage. Concrete, pavers, or fencing installed before site drainage is corrected will usually be re-poured or re-set. Sequence matters in hardscape, and price often reveals it: a paver scope that looks unusually low usually means the base prep and drainage aren’t in the price. Our driveway & pavers estimates show the base and drainage as line items for this reason.
- Painting and final finishes before punch-list walk. Finishes that go on before a documented punch-list walk are usually the ones that hide problems.
Signs that inspections were skipped
- No visible permit posted or available on request, especially for structural, electrical, plumbing, or roofing scopes that require one.
- An inspector’s sign-off sheet that’s been completed but never carries a real inspection record. You can call your local building department to verify whether an inspection has actually been recorded against the permit.
- A contractor who suggests skipping the permit “because it’s not structural” or “because it slows things down.” Permits protect you, not just the contractor.
- A scope that changes in a way that should have triggered a revision, but no revision was filed.
Signs of substandard or substituted materials
- Material delivered that doesn’t match the brand and specification on the written estimate, with no approved substitution on record. Brand matters in construction, and it’s why we source from 50+ vetted manufacturers across every trade category – so the written spec is a real, checkable brand, not a generic description.
- Unlabeled or unmarked boxes, especially for roofing, windows, and plumbing fixtures.
- A “same thing, cheaper” conversation about a fixture or material that was already specified. A substitution is fine if it’s agreed in writing and the warranty implications are understood.
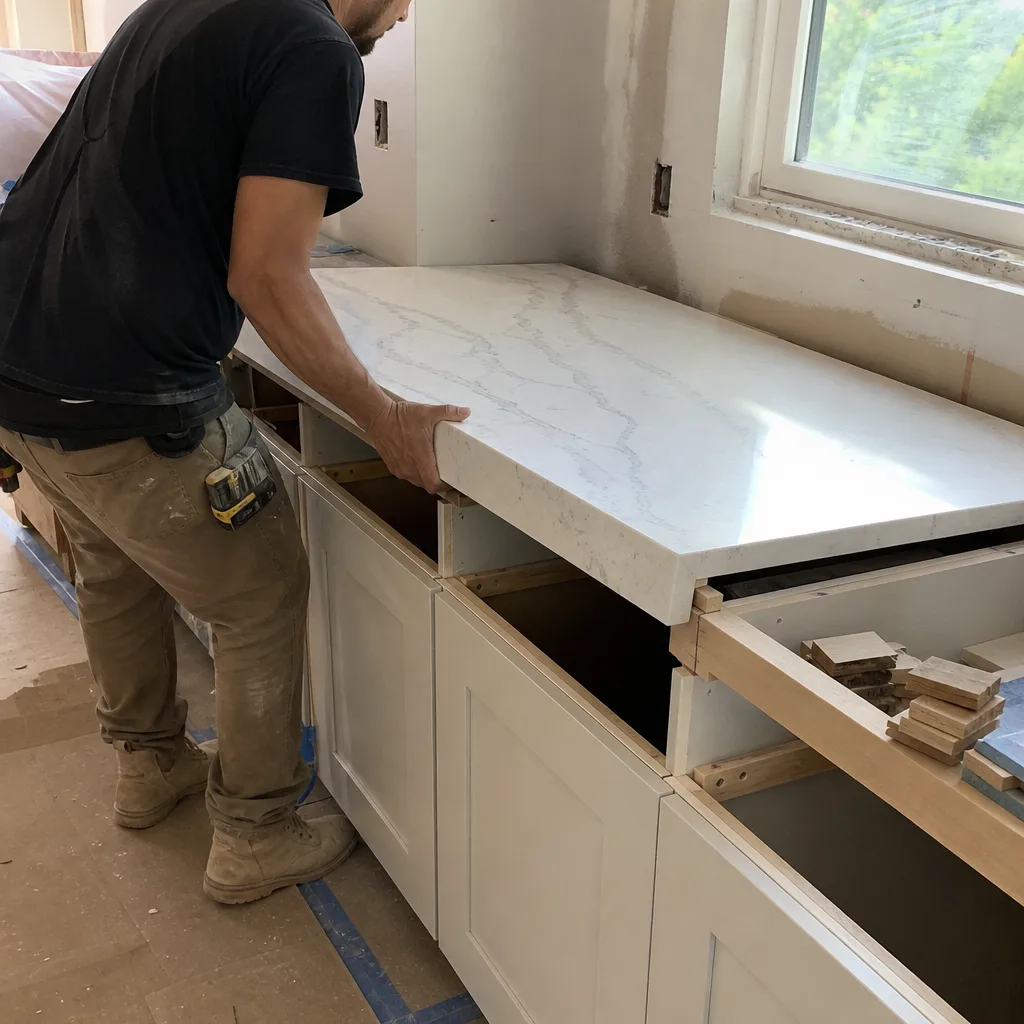
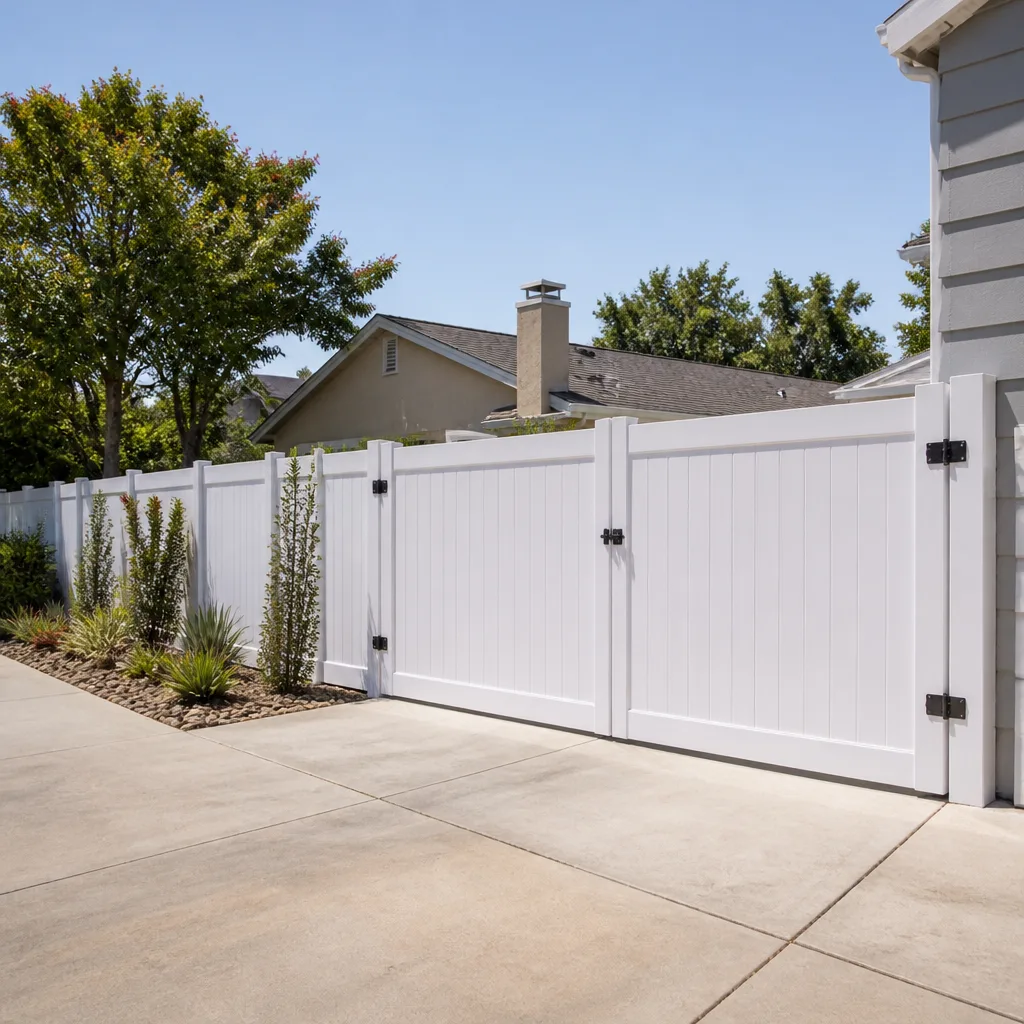
On our projects, the material choices go into the estimate by brand for a reason: GAF and CertainTeed on a roof, Cambria and Caesarstone on a countertop, Kohler, Grohe, and Toto on a fixture, Belgard and Unilock on a paver walk, Bufftech and ActiveYards on a vinyl fence. A brand on the estimate is a checkable promise. If those brands get swapped, you’ll know.
Seasonal Timing: When Berkeley Warnings Get Louder
Construction warning signs are not equally visible all year. Berkeley’s mild seasons mean the shifts are subtler than in climates with hard freezes, but they’re real, and they change what you can see and when. Knowing the seasonal calendar helps you know when a warning is fresh and when it’s been sitting for six months.
- After the first significant rains of the season. This is the most informative window of the year for water intrusion clues. Efflorescence on foundation walls, staining at the wall-floor line, and sump cycling appear first after the soil saturates. If you see a new clue in this window, it’s fresh information.
- Late spring, after the soil has dried and receded. Expansive clay shrinks as it dries, and that’s the window when foundation movement shows up in stucco cracks and interior drywall. Cracks that looked stable through the fall often show new movement in late spring. Photograph them in the same spot and angle year to year.
- Summer, when the hillside is visible. Vegetation retreat makes swale blockages, soil bulges, and retaining wall lean much easier to read. If you can only do one hillside walk-through, do it in dry weather.
- Before the rains start. This is the window to clean swales, check gutters and downspouts, and inspect the drainage around the foundation. A dry-season walk-through is how you avoid discovering drainage problems when the water is already on the move.
Plan your bigger improvement projects around the inspection windows, not against them. If you’re thinking about an addition or a secondary unit, scheduling a site evaluation in the dry months gives you the clearest read on grade and drainage before anything is designed. For roofing and exterior work, it also gives you flexibility to address what the summer walk-through finds before the rains return.
A Walkthrough Checklist You Can Do This Weekend
You don’t need specialized equipment to catch most early warning signs. You need a notebook, a phone camera, a flashlight, a straightedge or level, and an hour of unhurried attention. Work through this list once, then repeat it every six months, and you’ll build the comparison record that makes the warnings useful.
- Walk the exterior perimeter and photograph every stucco crack with a scale reference. Mark the ends with pencil and the date. Do the same on the interior in every room.
- Check every door and window for alignment. Note which ones stick, which ones no longer latch smoothly, and which ones pull tight against the frame at one corner. Changes since you last checked are the signal.
- Look at the base of every downspout and check its discharge. The water should be leaving the foundation. If the ground is eroding at the discharge point, or the downspout is dumping against the wall, that’s a finding.
- Observe the soil line around the foundation after the next rain. Photograph the damp band. Photograph the dry band. The boundary between them is where your grading is currently directing water.
- Sight down every retaining wall and fence line for lean. Note which direction and take one photo from the same spot.
- Inspect any crawlspace or basement for efflorescence, dark staining, musty odor, or damp framing. Note the sump pump’s current cycle if you can hear it. Don’t enter a crawlspace that isn’t safely accessible; call a professional.
- Photograph the attic underlayment and any ceilings below the roof deck. Staining, sagging, or daylight in the attic goes on the list.
- Write the date on all photographs and store them in one place. Six months from now, the record is the diagnosis.
What you can’t safely check yourself – inside the electrical panel, inside a drain line, the interior of a roof assembly, or the space behind a finished wall – belongs in the professional column. The walkthrough is how you know what to ask about, not how you do the repairs.
Common Mistakes to Avoid
- Treating a stair-step stucco crack as a stucco problem. Patching the stucco doesn’t stop the movement underneath. If the crack returns, that’s the pattern telling you it wasn’t cosmetic, and the next evaluation should look at the foundation and drainage together.
- Painting over efflorescence. Paint traps moisture against the wall and seals in the minerals. The moisture will find another exit, and the wall now hides its own warning signs. Clean, dry, and solve the source before any coating goes on.
- Skipping the drain camera before finishing a lower level. Cast iron lines from the 1945-1975 era fail from the inside out, and you’ll only know by looking. The finish work is the expensive part; the camera inspection is not.
- Assuming a lean on a retaining wall is “just how it was built.” A wall that’s leaned this way for as long as you’ve lived there is still preparing to fail; it’s just doing so slowly. Get it evaluated before anything is built or planted against it.
- Letting the contractor choose the sequencing without documentation. Rough-in inspections, flashing photographs, and punch-list walks are what protect you if the job goes sideways. Ask for them, keep them, and don’t let a layer of material cover a missing inspection.
- Managing slabs or hardscape before grading. New pavers or a repoured driveway installed before site drainage is corrected will usually be redone. Grading, swales, and downspout discharge first; hardscape after.
- Comparing contractor bids on price without comparing the scope behind them. A low number that leaves out base preparation, permits, or the specified brand is a low number for a different job. Ask what’s included and confirm the brand line-by-line.
When to Call a Professional
Some warning signs are checklist items you record and monitor; others need a professional evaluation this season. Call when a crack is active and widening, when a door or window changes fit noticeably in a short period, when a retaining wall leans, kinks, or shows fresh cracking, when a swale is clearly escaping its channel, when you see efflorescence or damp framing in the crawlspace, or when an active project shows out-of-sequence work, missing inspections, or material substitutions. Structural, electrical, plumbing, and roof work all carry real risk, and a trained professional should be the one evaluating and touching those systems.
Construction Berkeley offers free estimates in Berkeley. Our technicians have up to 9 years of experience across every scope we handle, and the estimate is written line by line so the final price is set by the written estimate. Call (844) 797-8850.
Frequently Asked Questions
Settling cracks are usually narrow, vertical or diagonal, and stabilize over time; structural cracks are typically active, wider, and often accompanied by door or window misalignment, uneven floors, or fresh cracks nearby. The only way to know which you have is to track it with dated photographs and a professional evaluation. Call (844) 797-8850 for an exact quote on a site evaluation – estimates are free.
Usually both, and the drainage is what comes first in the diagnosis. Expansive clay soil moves differently when water is pooling against the foundation versus draining away, so the first assessment is always how water is behaving around the house. A professional can separate the two after that. The written estimate will tell you which repairs are relevant to your situation.
Yes, especially on pre-1980 homes where movement is more likely to be active. Dated photos and pencil marks are the low-cost version, and a professional evaluation is what turns observation into a real diagnosis. Call (844) 797-8850 – estimates are free and there’s no obligation.
It depends on the roof’s size and pitch, the condition of the sheathing underneath, and whether the deck needs repair. Most replacements fall within a few days to a week of on-site work once the scope is set. Your written estimate will lay out the sequence and the finish date before work starts.
Document everything – written scope, brand specification, and photos – then have the work evaluated before more finishes go on. Permit verification is one phone call to your local building department, and an evaluation can generally catch problems before they become permanent. Call (844) 797-8850 if you need a professional assessment.
Most structural retaining wall work and any regrading that changes how water flows around a foundation will require a permit or at least a review by Berkeley’s building department. Ask before you start, and confirm what’s in scope in your written estimate. The inspection record is something you’ll want on file later.
The Bottom Line

Construction warning signs are mostly quiet, and they’re almost never the thing they look like on the surface. A stair-step stucco crack points to foundation movement. A white stain on a foundation wall points to active moisture. A row of leaning fence posts points at slope creep. The consistent method is observation with a date on it: photograph, mark, and re-check every six months, and treat patterns as the real signal. Inside a 1945-1975 Berkeley home, assume the aluminum wiring, cast iron drains, and original roof assembly are at or near the end of their service life until you verify otherwise. During an active project, look at sequence, inspection records, and specified brands. When anything you find involves a crack that’s widening, a retaining wall that’s leaning, or water where it shouldn’t be, get a professional look before the repair gets larger. The cost of a free estimate is a phone call – the cost of an ignored symptom is the repair behind it. Call (844) 797-8850. We answer 24/7. Fast dispatch from 7am to 7pm, Sunday through Friday.
Written by the team at Construction Berkeley.
See the difference
 Before
 After
 Before
 After
 Before
 After